Alternator Output Current Test
Clamps the alternator output cable to confirm it can deliver its rated current.
What this test tells you
When to use it
- Charging voltage is correct at idle but sags as loads are switched on
- A vehicle with heavy added electrical load: lights, winch, fridge, tow gear
- Battery keeps discharging despite a passing voltage test
- Confirming a diode or stator fault suspected from a ripple test
Safety
- Keep the clamp lead well clear of the belt and fan when you close the jaws
- The alternator and exhaust are hot — do not rest your forearm on either
- Do not short the B+ stud to anything; it is live at all times
- Heavy loads for long periods will flatten the battery — keep the test short
Vehicle setup
- Battery charged and healthy; a flat battery makes the alternator work flat out and skews the picture
- Engine at operating temperature, idling, handbrake on
- Belt condition and tension checked first — a slipping belt fails this test for the wrong reason
Meter setup
- Tool
- DC-capable automotive amp clamp (600 A range)
- Function
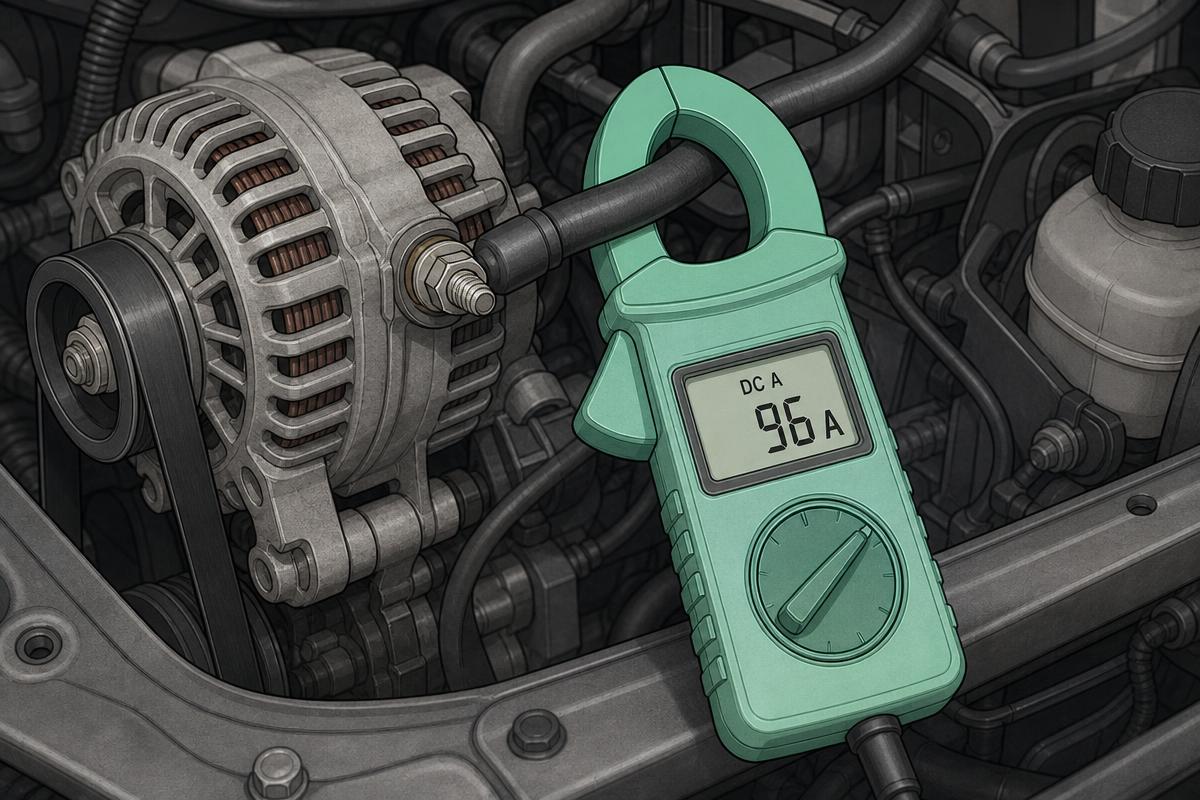
- DC amps — not AC
- Range
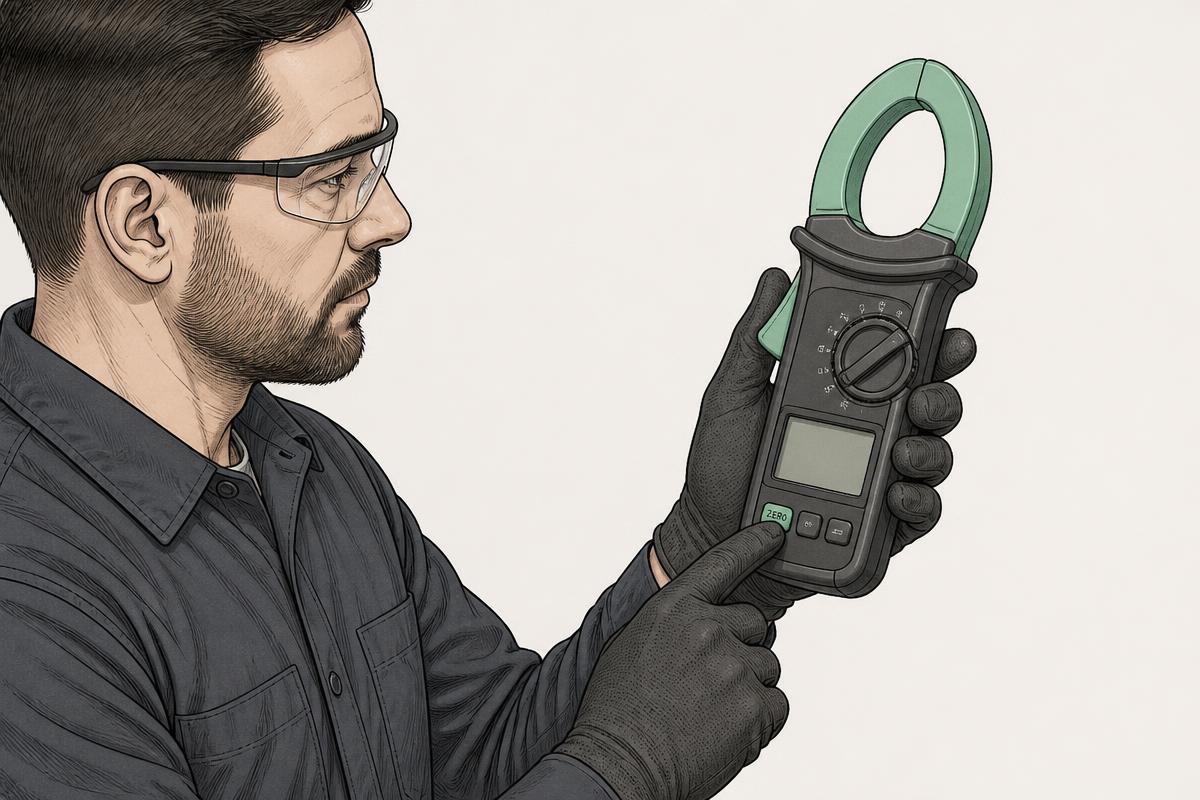
- 600 A DC, zeroed before use
- Sockets
- Clamp leads into the meter, or a standalone clamp meter
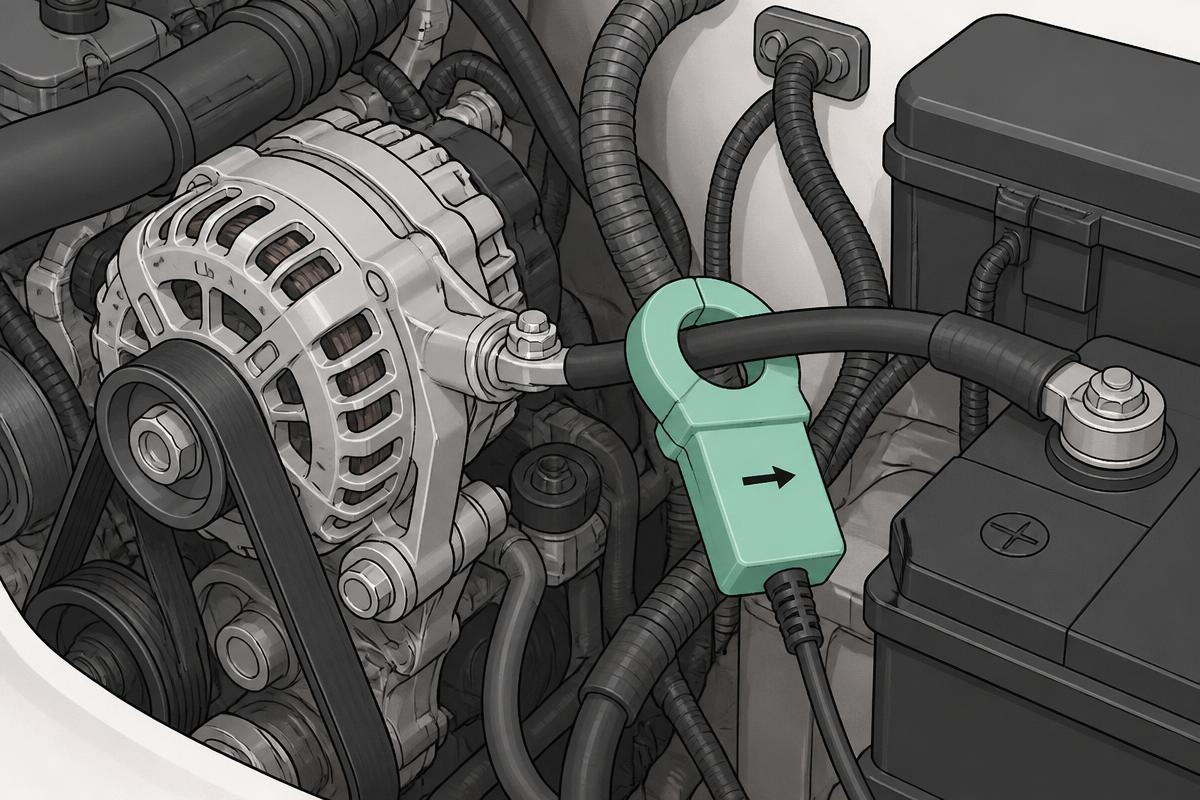
RED Clamp jaws around the single heavy B+ output cable from the alternator
BLACK Not used — the clamp measures the field around the cable
One cable only inside the jaws; two cables cancel and you read almost nothing
RED Clamp around the battery positive cable
BLACK Not used
Useful cross-check: shows how much of the output actually reaches the battery
Step by step
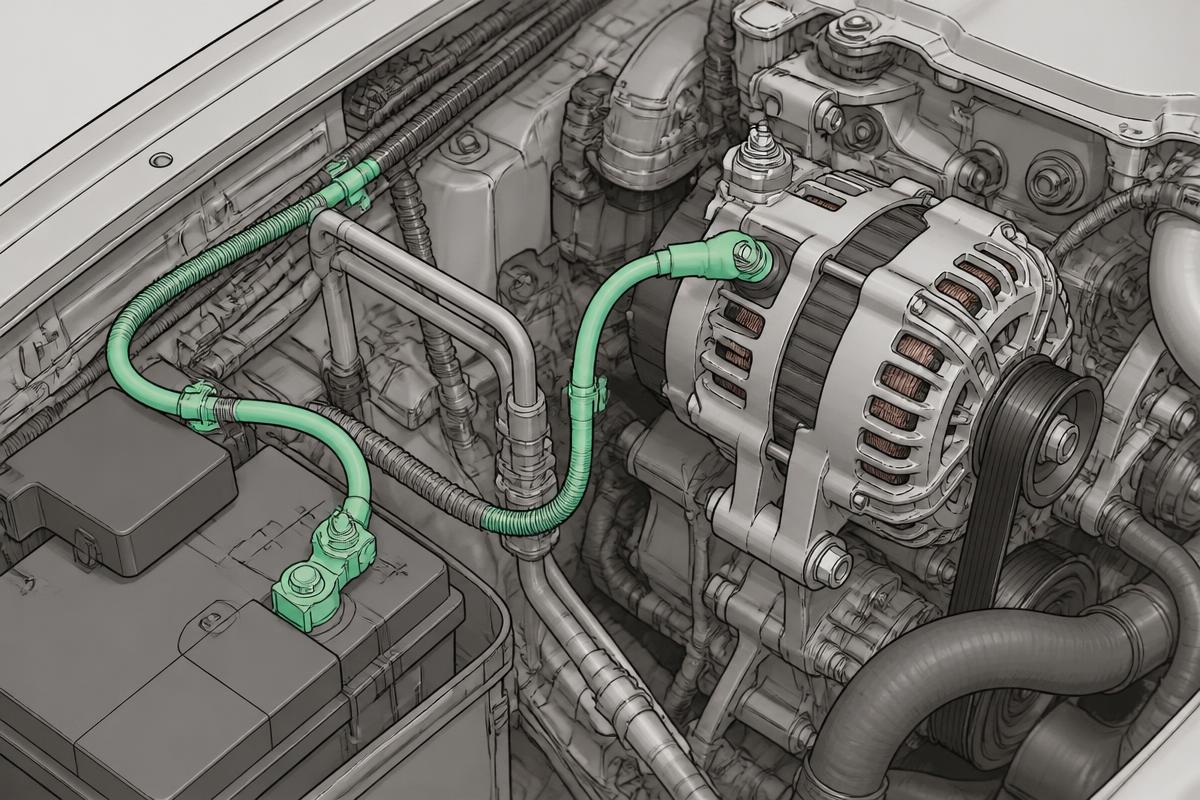
Step 1 · Identify the output cable
Trace the single heavy cable from the alternator B+ stud back towards the battery or fuse box. That one cable carries everything the alternator makes.
Tap the numbered markers on the picture for the exact contact points.
Procedure
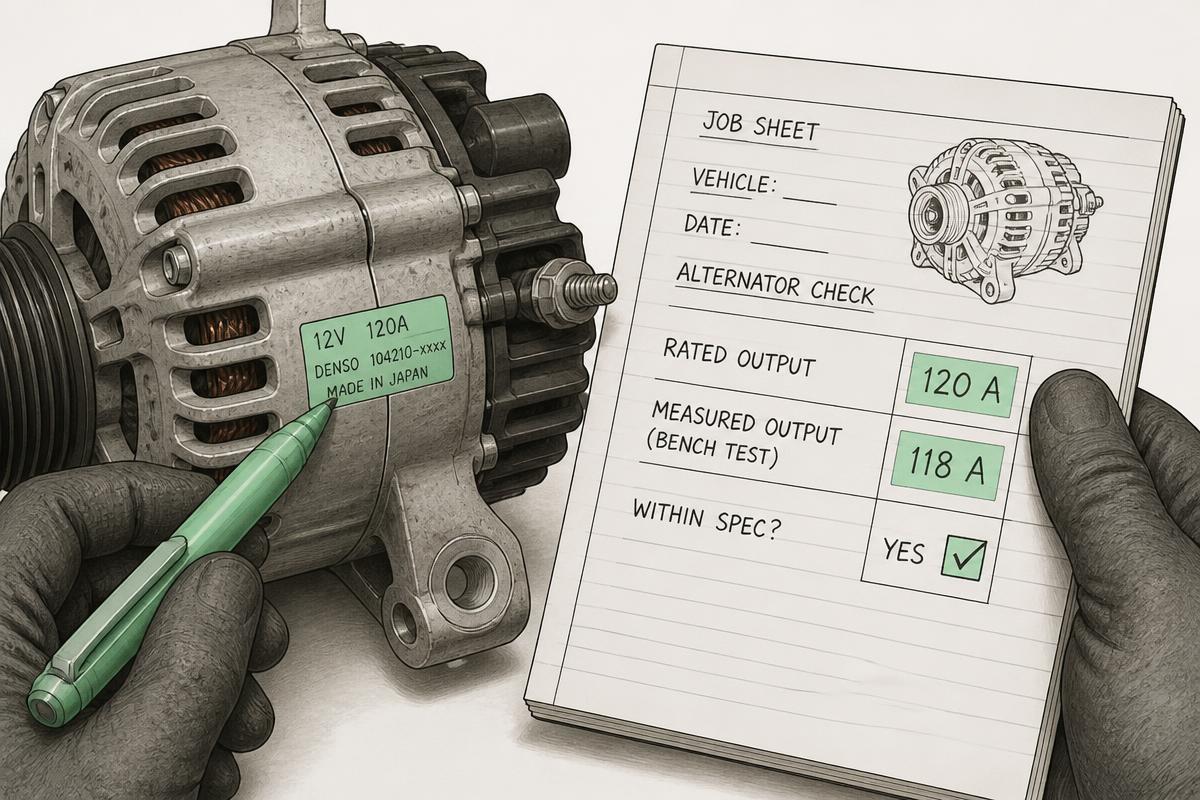
- Note the alternator's rated output from the casing tag or the data book
- Zero the clamp in free air, away from any cable, before you clamp anything
- Close the jaws around the alternator B+ cable, with the direction arrow pointing away from the alternator
- Start the engine and read the current at idle with no loads on
- Switch on headlights, main beam, blower on full, heated rear screen and heated seats
- Hold around 2000 rpm and record the highest steady current
- Watch the battery voltage at the same time — it should stay above 13.0 V
Normal result
At least 70–80% of the rated output under heavy load at 2000 rpm — around 90 A or more from a 120 A alternator. Current is low at idle with no loads and that is correct behaviour, not a fault.
Fault result
Under about 60% of rating with everything switched on, or current that rises briefly and then falls away as the alternator heats up.
Interpretation
IfReaches 70–80% of rating or better
ThenThe alternator has its capacity
NextLook at cable drop, the battery or a drain instead
IfRoughly a third to a half of rating
ThenClassic open diode or a failed stator phase
NextConfirm with the diode ripple test, then replace the alternator
IfNear zero at all speeds
ThenNo output — belt, field supply, brushes, regulator or a blown fusible link
NextCheck belt and B+ fusible link, then field supply at the alternator plug
IfGood current but battery voltage still sags
ThenThe output is being lost on the way to the battery
NextRun the charging circuit voltage drop test
IfOutput falls off as the alternator warms
ThenThermal failure of the regulator or a slipping belt
NextCheck the belt and pulley, then replace the alternator
Common mistakes
- Using an AC-only clamp; alternator output is DC and an AC clamp reads nonsense
- Forgetting to zero the clamp, giving a fixed offset on every reading
- Clamping more than one cable, so the currents cancel out
- Judging output at idle with no loads and calling a healthy alternator faulty
- Testing with a flat battery, which masks how much capacity is really left