Battery Conductance Test
Electronic health check estimating cold cranking performance without a heavy discharge.
What this test tells you
When to use it
- Routine service health check or a winter check
- Supporting a warranty claim, where a printed result is required
- AGM, EFB and stop-start batteries, which dislike heavy carbon-pile loading
- Any time you need a repeatable number rather than a subjective judgement
Safety
- Still a battery: no sparks, no flames, eye protection on
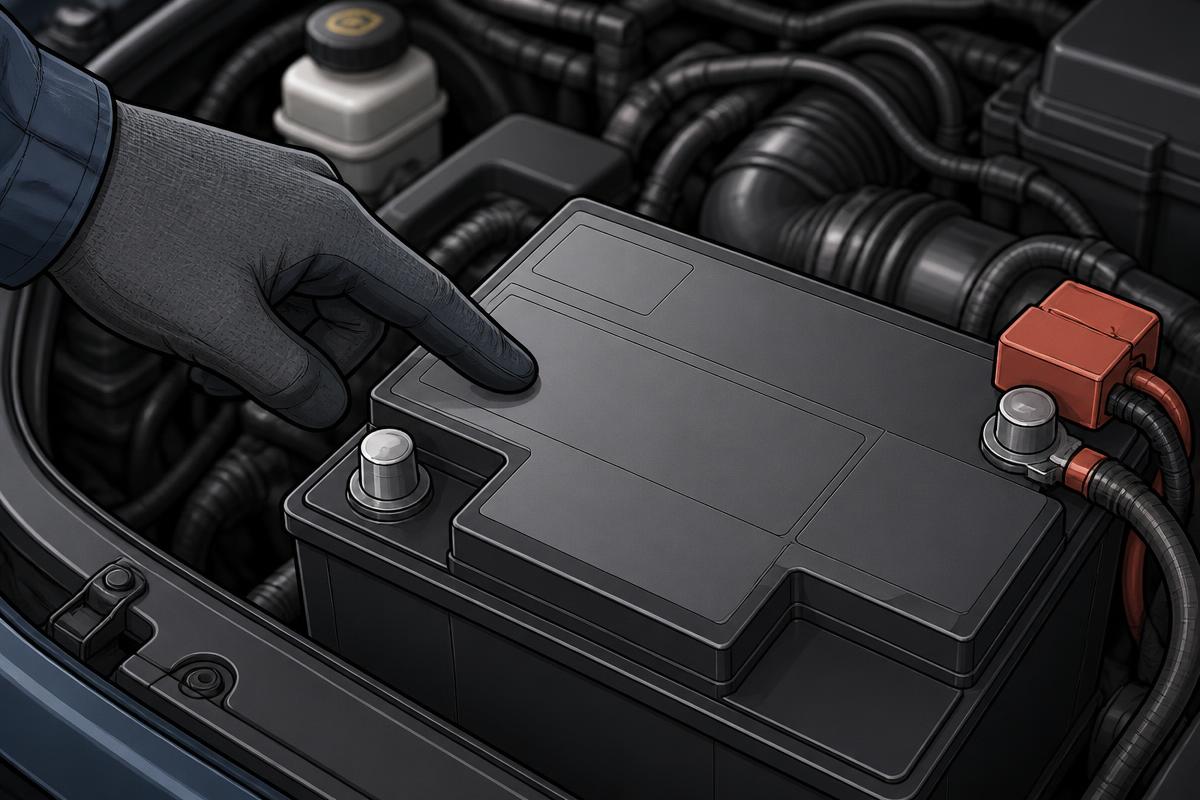
- Check for a cracked case or bulging sides before connecting anything
- Do not test a frozen battery — let it warm through first
Vehicle setup
- Ignition off, all consumers off, doors closed so modules go to sleep
- Remove surface charge if the vehicle has just been driven or charged
- Posts clean and dry — corrosion under the clamp skews the reading badly
Meter setup
- Tool
- Electronic conductance tester
- Function
- Battery test mode, 12 V starting battery
- Range
- Enter the battery's own rating and standard (EN, SAE or IEC)
- Sockets
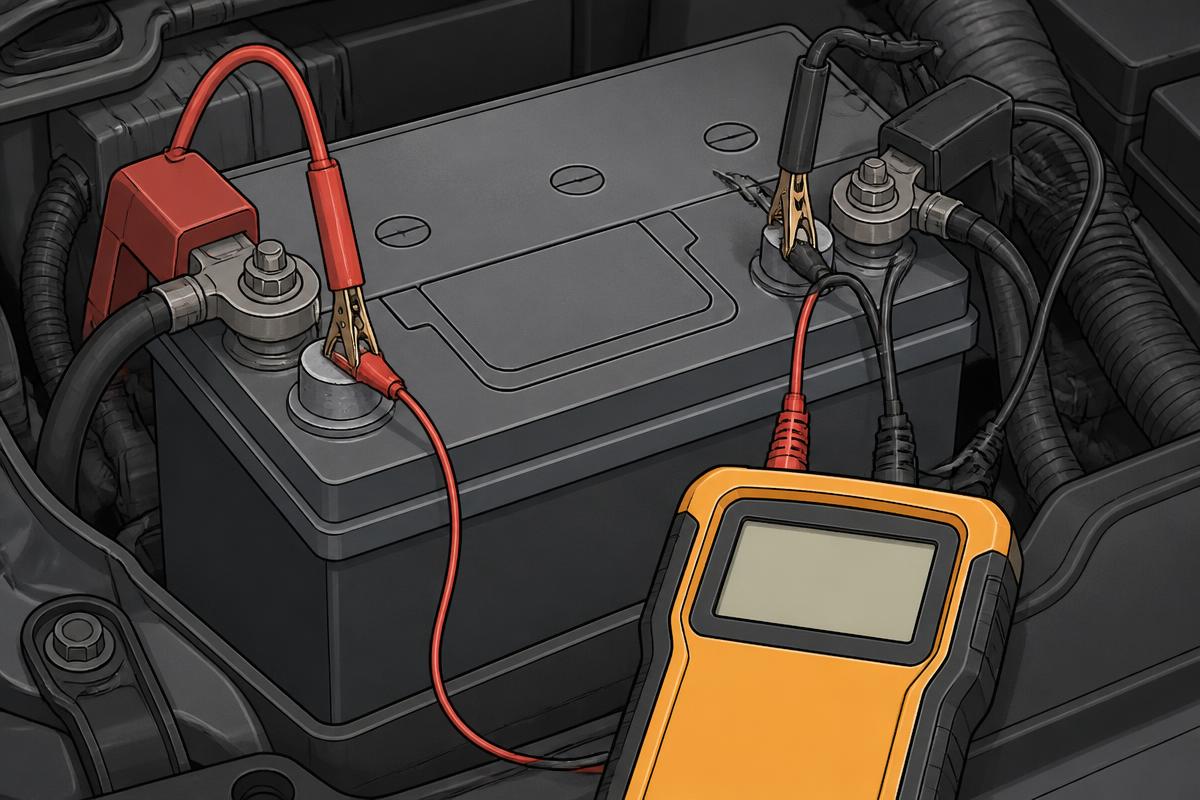
- Red kelvin clamp to positive, black to negative
RED Red clamp biting bare lead on the positive post
BLACK Black clamp biting bare lead on the negative post
Both jaws must contact clean metal — kelvin clamps take two readings per side
RED Red clamp on the positive terminal stud (battery out of the car)
BLACK Black clamp on the negative terminal stud
Retest off the vehicle when the in-car result looks implausible
Step by step
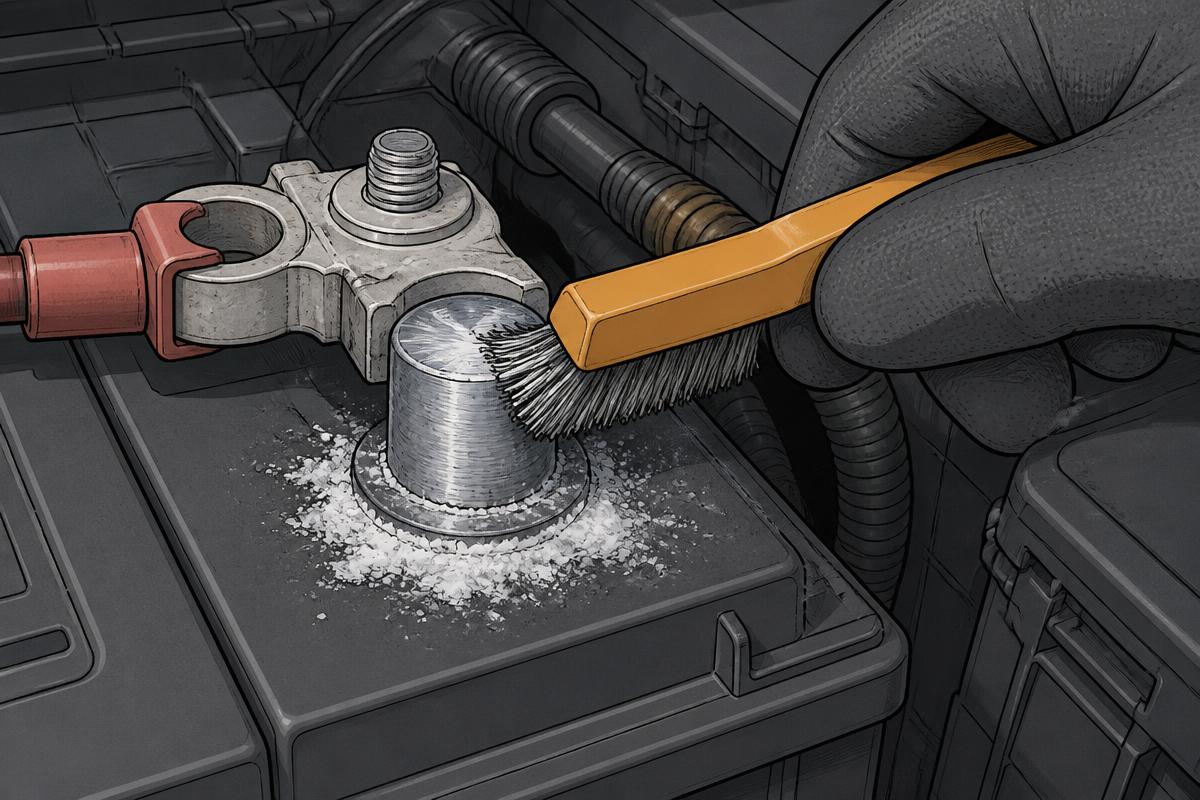
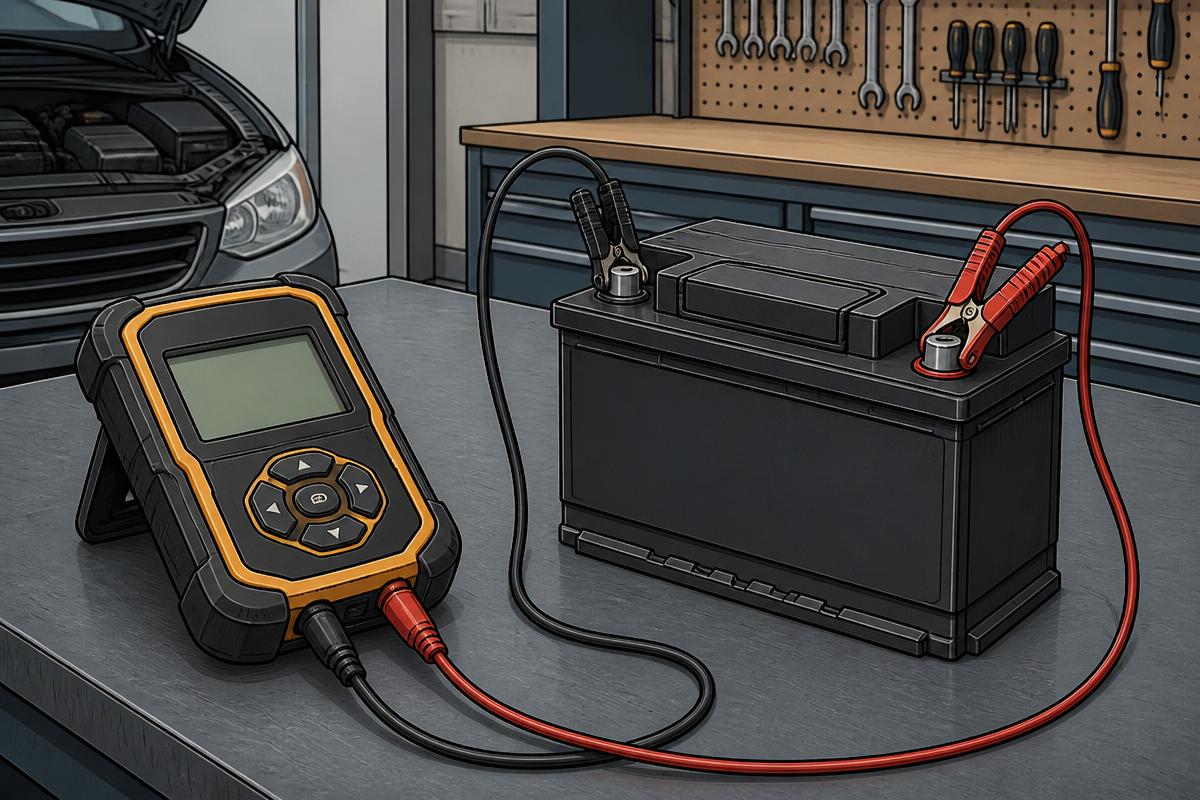
Step 1 · Clean the posts to bright lead
Brush both posts and clamp faces. Conductance testers are sensitive to contact resistance — corrosion here produces a fail on a good battery.
Tap the numbered markers on the picture for the exact contact points.
Procedure
- Clean both posts to bright lead with a terminal brush
- Attach the clamps to the posts, making sure both jaws grip metal, not plastic or lead paint
- Select 12 V starting battery, then the correct chemistry: flooded, AGM, EFB or gel
- Enter the rating printed on the battery label, using the same standard as the label
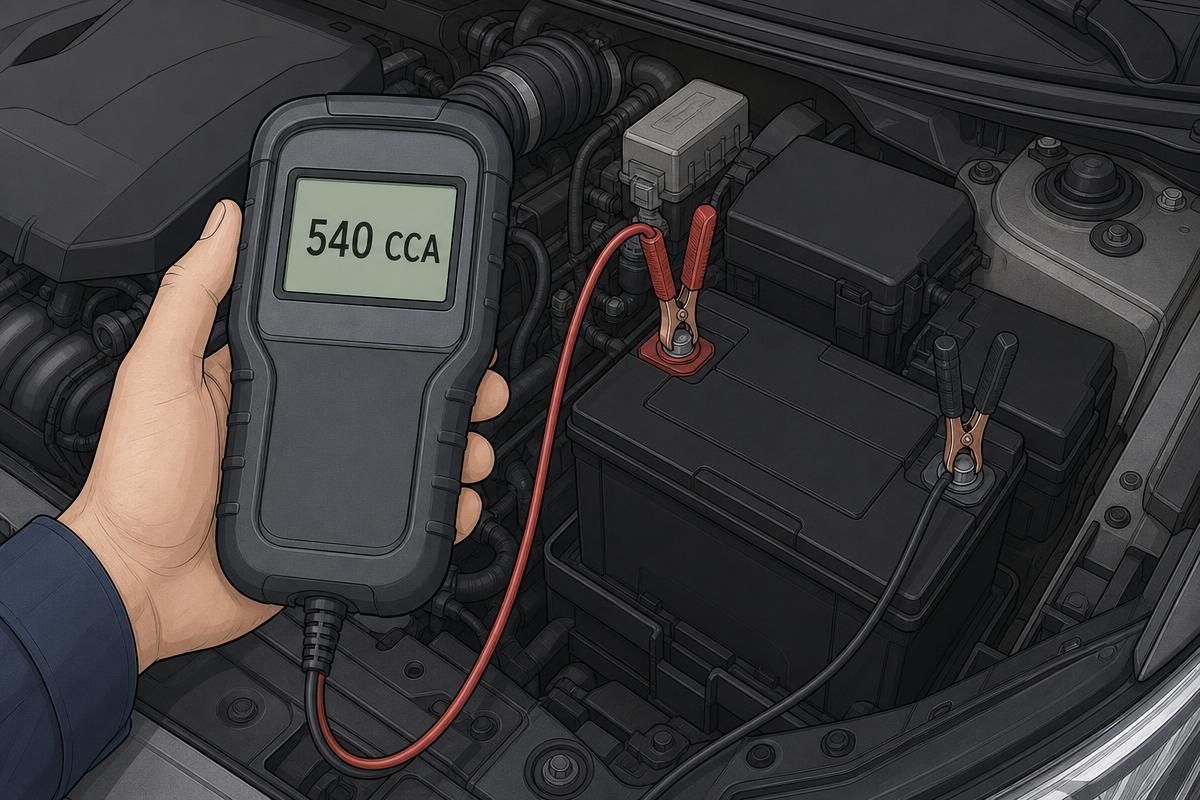
- Run the test and wait for the result — it takes only a few seconds
- Compare the measured CCA against the rated CCA and note the state of health percentage
- If the result is 'charge and retest', put it on a charger and repeat rather than guessing
Normal result
Measured CCA at or above roughly 80% of the rated value, state of health typically 80–100%, and no internal fault flagged. A new battery often measures slightly above its label.
Fault result
Measured CCA below about 65–70% of rating, a 'replace' verdict, or a 'bad cell' message. Voltage below 12.4 V with a low CCA usually means charge first, then retest.
Interpretation
IfMeasured CCA close to rated, good state of health
ThenBattery is healthy — the fault is elsewhere
NextCheck charging voltage and parasitic drain next
IfCCA 65–80% of rating
ThenAgeing battery, still serviceable in summer but marginal in winter
NextAdvise replacement before the cold season; recheck at the next service
IfCCA below 65% or a replace verdict
ThenThe battery has lost capacity and will not support cold cranking reliably
NextReplace, then check why: drain, undercharging, or short journeys
If'Charge and retest' returned
ThenState of charge is too low for the algorithm to judge health
NextCharge to full, rest for an hour, then retest
IfResult varies wildly between attempts
ThenPoor clamp contact, not a poor battery
NextClean the posts again and reclamp onto bare lead
Common mistakes
- Testing through the cable clamps instead of clamping the posts
- Entering SAE CCA when the label quotes EN, which makes a healthy battery look weak
- Selecting flooded when the battery is AGM or EFB
- Testing straight after charging without removing surface charge
- Treating conductance as gospel on a deeply discharged battery — charge first