Main Earth Strap Test
Checks the engine-to-body and battery-to-body straps under load.
What this test tells you
When to use it
- Several electrical faults appearing at once with no common feed
- Slow cranking when the battery and positive cabling test good
- Lights dim or gauges move when a big load switches on
- After engine or gearbox removal, where a strap may have been left off
Safety
- Disable the engine before cranking tests
- Route long test leads away from the belt, fan and hot exhaust
- Take care with the exhaust — earth straps often sit next to it
- Never disconnect an earth strap while the engine is running
Vehicle setup
- Battery in good condition and charged
- Engine disabled for the cranking measurements
- Identify every heavy strap first: battery negative to body, body to engine, engine to gearbox or subframe
Meter setup
- Tool
- Digital multimeter with long leads
- Function
- DC volts
- Range
- Auto range, or millivolts — expect readings well under half a volt
- Sockets
- Red in VΩ, black in COM
Probe placement
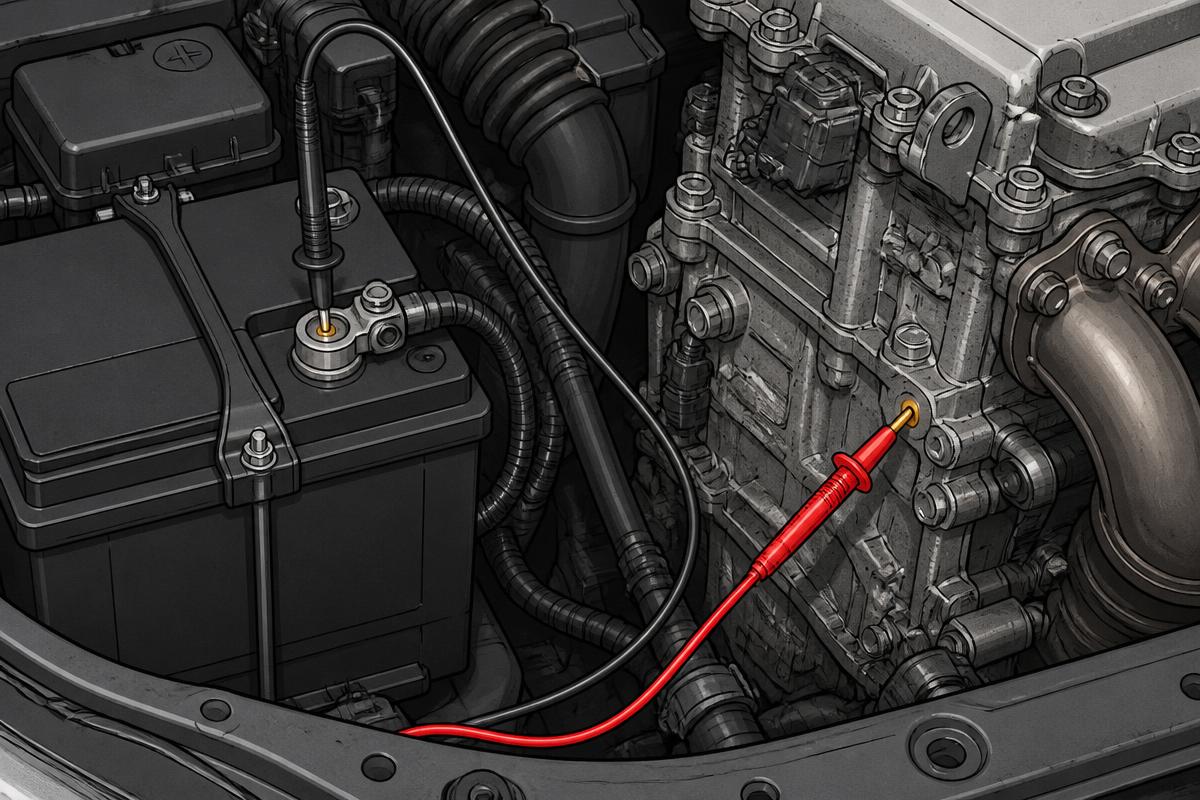
RED Bare metal of the engine block or cylinder head
BLACK Bare lead of the battery negative post
Total engine-to-battery ground drop, every strap and joint included
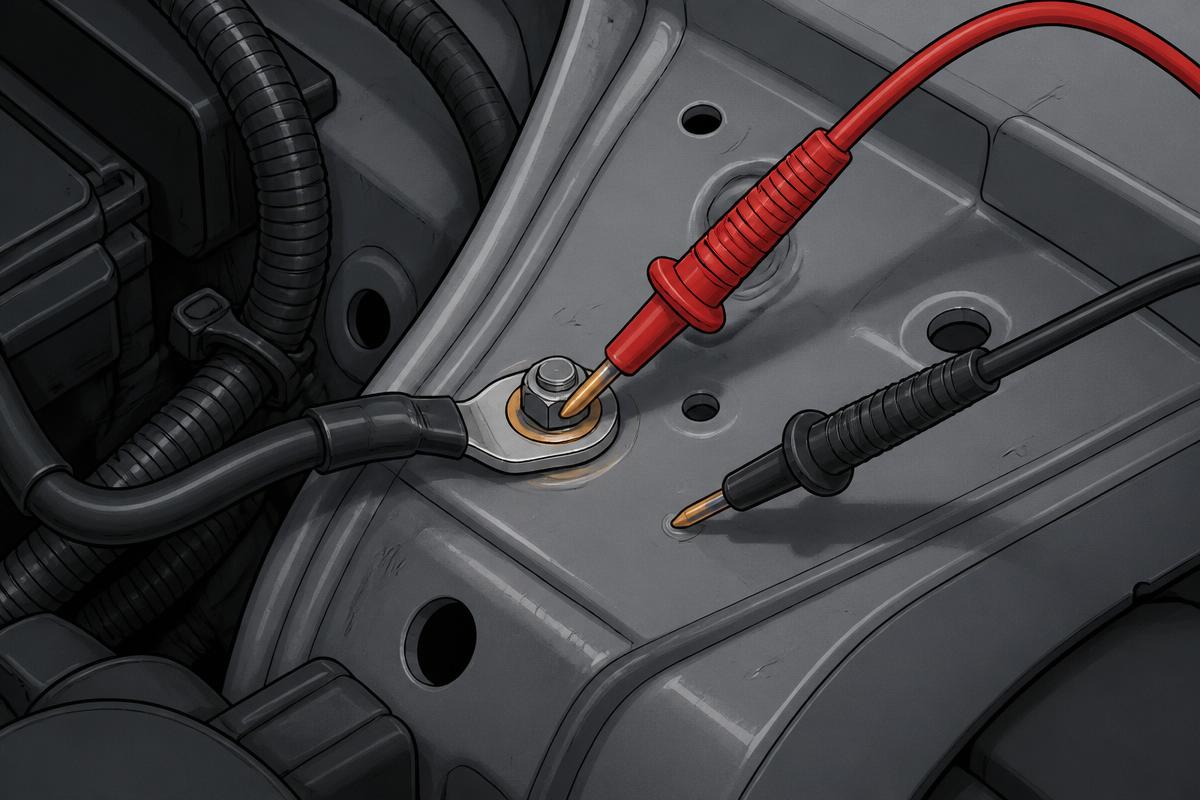
RED Battery negative cable eyelet at the body
BLACK Clean bare body metal beside the fixing
Isolates the eyelet-to-body joint on its own
RED One end of a single strap
BLACK The other end of the same strap
Halving down once the total is known to be high
Step by step
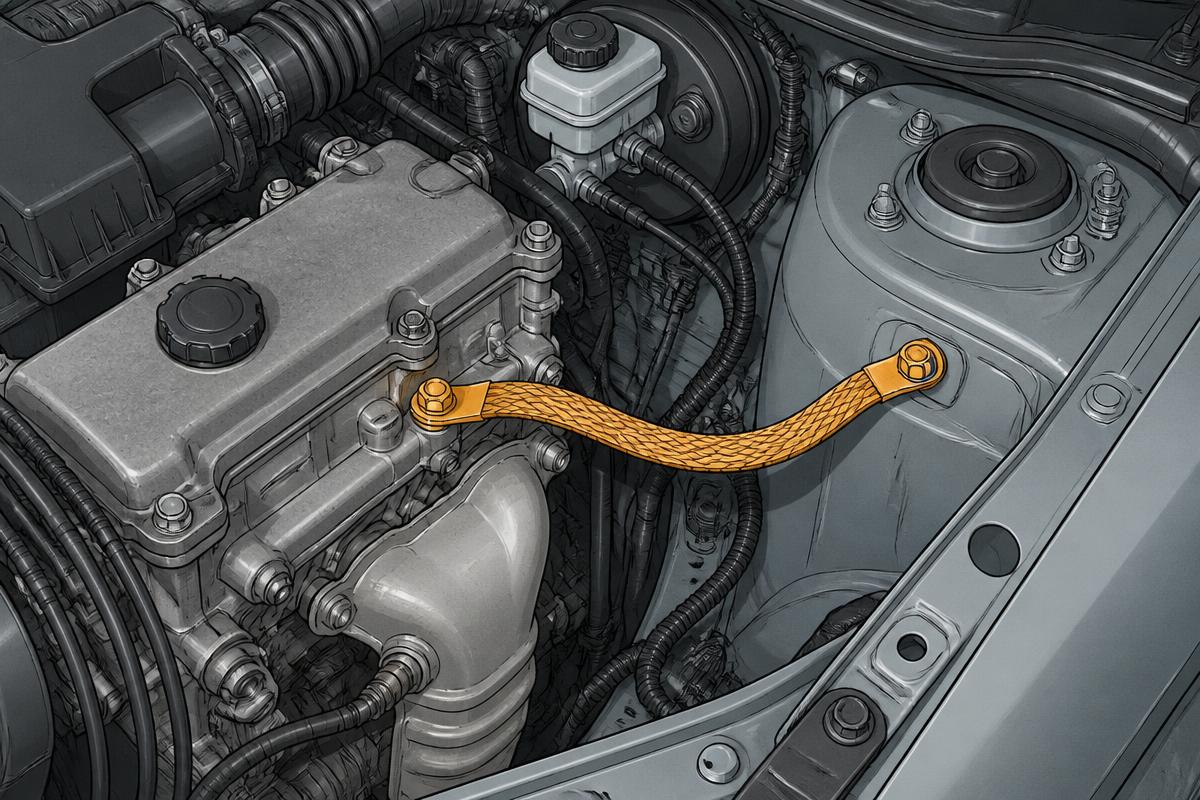
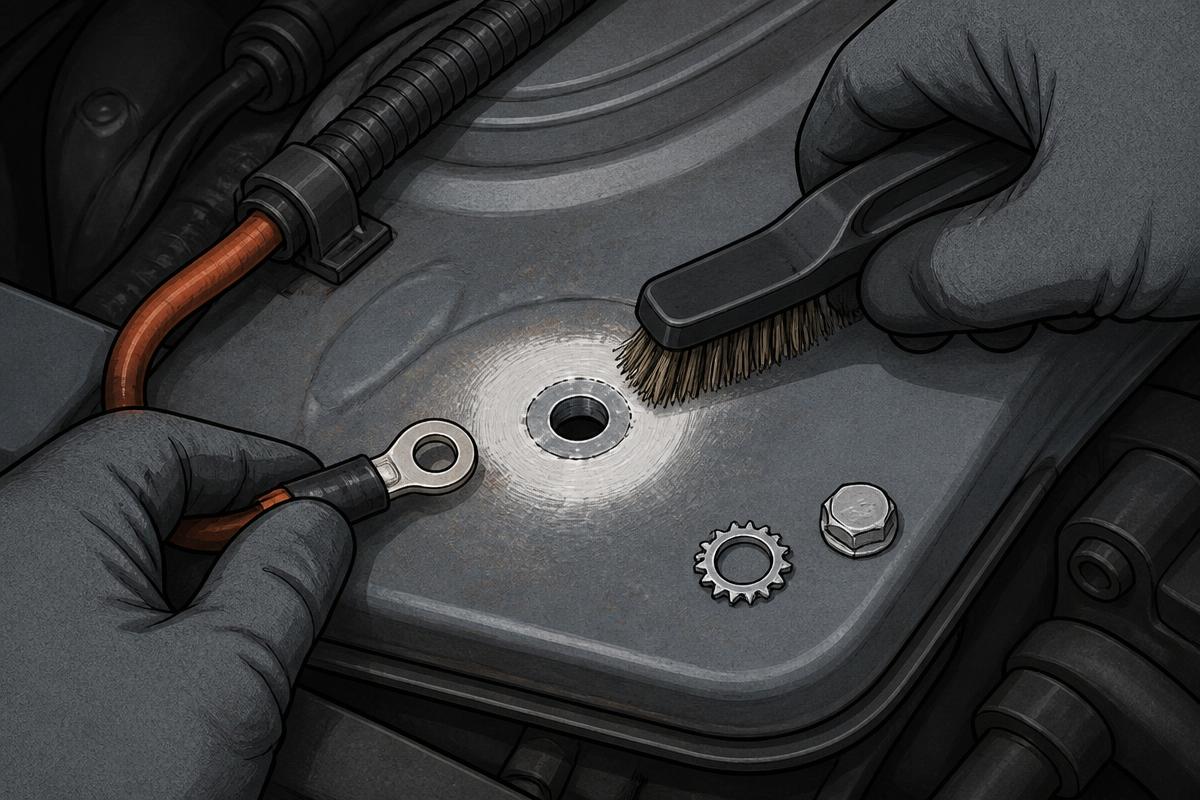
Step 1 · Find every heavy strap
Locate the battery negative to body strap, the body to engine strap and the engine to gearbox or subframe strap. All of them carry starter current.
Tap the numbered markers on the picture for the exact contact points.
Procedure
- Measure the total first: red on the engine block, black on the battery negative post
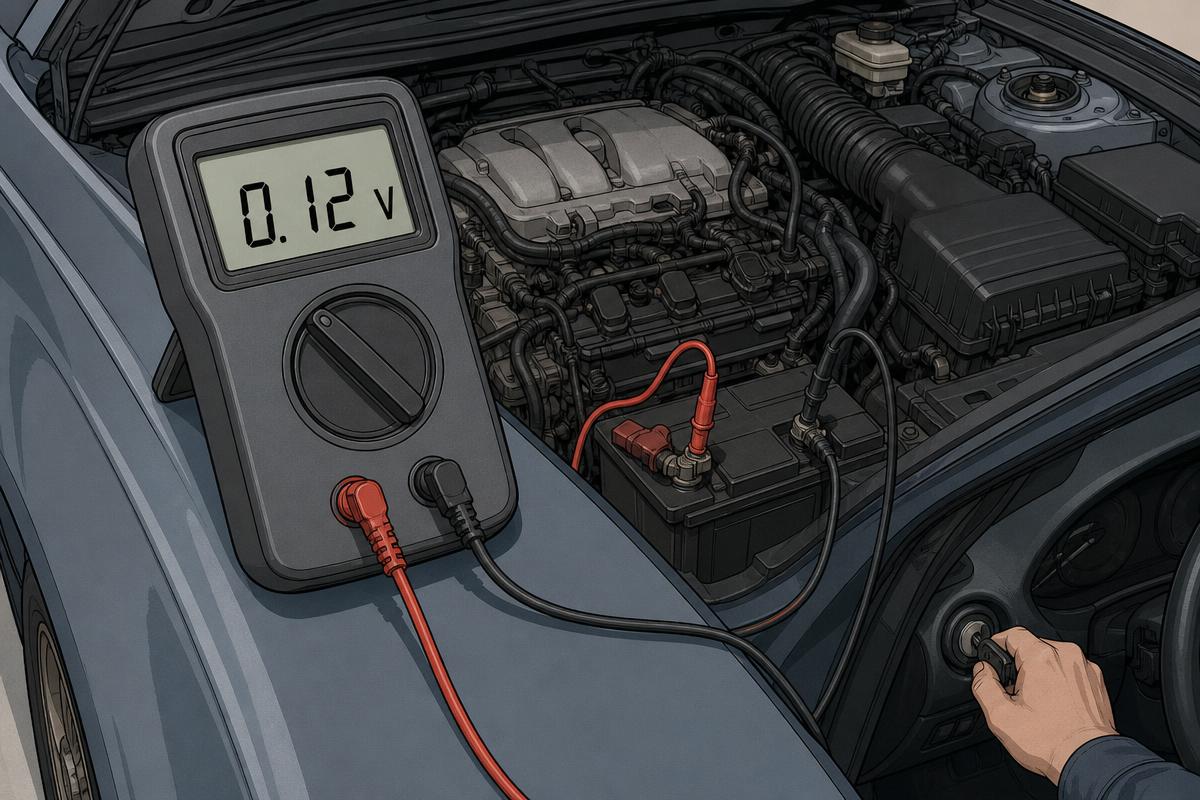
- Crank the engine for a few seconds and record the highest reading
- If the total is out of spec, move to individual straps
- Measure the battery-to-body strap end to end while cranking
- Measure the body-to-engine strap end to end while cranking
- Measure across each fixing on its own: eyelet to the panel it bolts to
- Clean the offending joint back to bare metal, refit with a star washer and correct torque, then retest
Normal result
Under 0.2 V total from engine block to battery negative during cranking, and under 0.1 V across any single strap or fixing. On a healthy car the total is often below 0.1 V.
Fault result
Above 0.2 V total, or above 0.1 V across one strap or joint. A reading approaching battery voltage means that strap is broken or missing entirely.
Interpretation
IfTotal under 0.2 V
ThenThe heavy ground path is sound
NextLook at individual component grounds instead
IfTotal high, one strap accounts for most of it
ThenThat strap or one of its fixings is corroded, loose or fatigued
NextClean or replace it, then retest the total
IfTotal high, spread evenly across every joint
ThenGeneral corrosion; often an older vehicle or one used near the coast
NextRefresh every earth point in the bay, not just the worst one
IfReading equals battery voltage across a strap
ThenThe strap is open — broken conductor inside the braid, or a missing bolt
NextReplace the strap and check what it was carrying in the meantime
IfStraps fine but sensor faults persist
ThenThe heavy bonding is good; the fault is in a module or sensor ground
NextRun the sensor ground and module power/ground audit tests
Common mistakes
- Testing with no load, which makes every strap look perfect
- Probing painted or plated surfaces instead of bare metal
- Forgetting the gearbox or subframe strap, which is often the one that has been left off
- Assuming a braided strap is fine because it looks intact — the conductor corrodes inside
- Cleaning the joint before measuring, so you never learn what was wrong